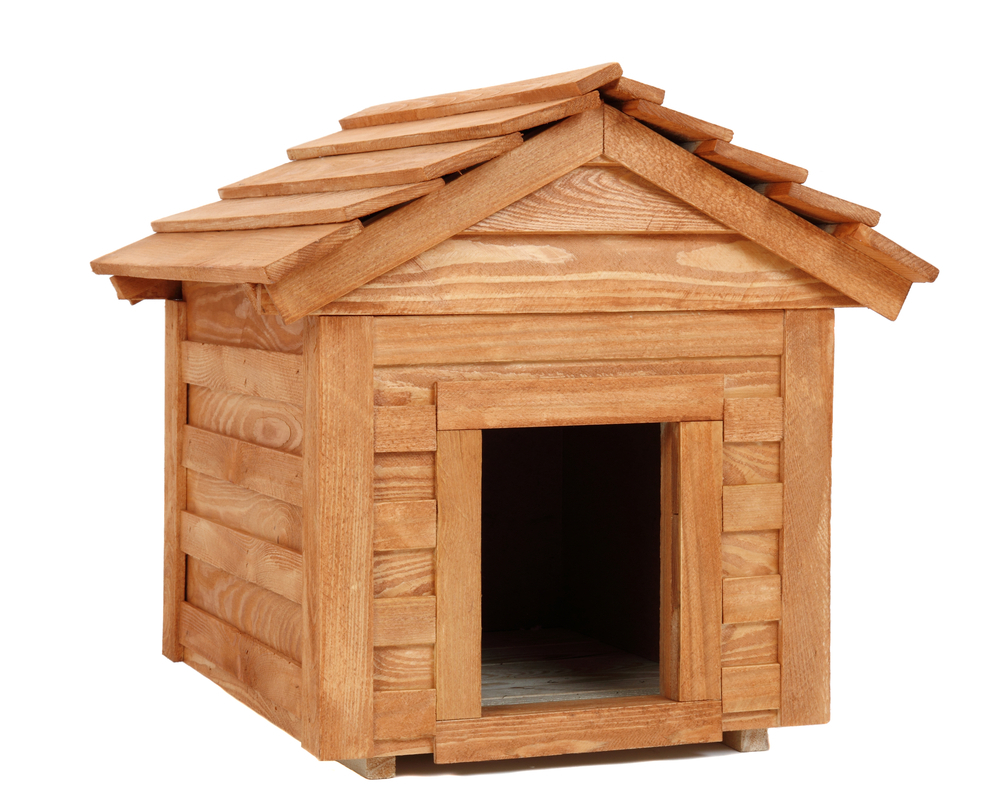
If you’re a pet owner, you know that your furry friend needs a safe and comfortable place to call home. One option is to build a dog house yourself, which can be a fun and rewarding project.
We will walk you through the process of building a 3 x 3 foot dog house. This size is perfect for small dogs or puppies, and it’s also a great choice for anyone who has limited space in their yard or wants to save money on materials.
Building a dog house isn’t as hard as you might think, and with the right tools and materials, you can create a cozy and durable home for your pet in just a few hours. We’ll provide detailed plans and step-by-step instructions, as well as some tips and tricks to help you along the way.
Contents
Materials list
To build a 3 x 3 foot dog house, you will need the following materials:
-
- Lumber: You will need enough wood to create the frame of the dog house, as well as the roof and any optional features (such as a door or a window). A good rule of thumb is to use 2x4s for the frame and 1x6s for the roof. You will also need some 1x2s or 1x3s for trim.
- Roofing materials: You will need enough roofing material (such as asphalt shingles or metal roofing) to cover the top of the dog house. You will also need roofing underlayment, flashing, and roofing nails.
- Screws: You will need screws to attach the frame and roofing materials together. Make sure to use screws that are appropriate for the type of wood you are using.
- Tools: You will need some basic tools for this project, including a circular saw, drill, hammer, level, and tape measure. You may also need a jigsaw if you plan to add any custom features (such as a door or a window).
Step-by-step instructions
Now that you have all of your materials, it’s time to start building! Here are the steps you will need to follow to construct your 3 x 3 foot dog house:
-
- Cut the lumber: Measure and mark your wood according to the plans provided below, and use a circular saw to cut the pieces to size. Make sure to use proper safety equipment and techniques when using power tools.
- Assemble the frame: Use screws to attach the frame pieces together, following the plans provided. Make sure to use a level to ensure that everything is straight and square.
- Add the roof: Measure and cut the roofing material to size, and attach it to the frame using roofing nails or screws. Be sure to overlap the edges of the material and use flashing to protect against leaks.
- Add any optional features: If you want to add a door or a window to your dog house, use a jigsaw to cut the opening(s) in the frame. Then, attach the door or window using screws or hinges.
- Finish the dog house: Once the main structure of the dog house is complete, you can add any finishing touches you desire. This might include trim around the edges, insulation to keep your pet warm, or a coat of paint or stain to protect the wood.
Finishing Touches
Insulation
If you live in a cold climate, you may want to add insulation to the dog house to help keep your pet warm during the winter months. There are several options for insulating a dog house, including using foam board, fiberglass batting, or spray foam. Just make sure to use materials that are safe for pets and follow the manufacturer’s instructions carefully.
Painting or staining
Applying a coat of paint or stain to your dog house can help protect the wood from the elements and give it a finished look. Just be sure to use a product that is safe for pets and follow the manufacturer’s instructions for drying and curing times.
Doggy door
If you want your pet to have easy access to the dog house, consider adding a doggy door. There are several types of doggy doors available, including manual doors that your pet has to push open and automatic doors that open with a sensor. Just be sure to choose a door that is the appropriate size for your pet.
Other customizations
There are many other customizations you can add to your dog house to make it more comfortable or attractive. For example, you could add a window to provide ventilation, a porch or deck for your pet to sit on, or a water bowl holder. Just use your creativity and make sure to keep your pet’s needs in mind.
Maintenance
To keep your dog house in good condition, it’s important to perform regular cleaning and maintenance tasks. This might include sweeping out the inside, washing the bedding, and checking for any signs of damage or wear. You should also check the roof regularly to make sure it is in good condition and make any necessary repairs. By taking good care of your dog house, you can help ensure that it provides a safe and comfortable home for your pet for many years to come.
Final Takeaway
Building a 3 x 3 foot dog house can be a fun and rewarding project for pet owners. With the right materials and tools, you can create a cozy and durable home for your small dog or puppy in just a few hours. By following the detailed plans and instructions provided in this post, you can create a dog house that meets your pet’s needs and fits your budget.
Don’t forget to add any finishing touches or customizations you desire, and remember to perform regular cleaning and maintenance to keep your dog house in good condition. With a little bit of effort, you can give your furry friend the perfect place to call home.

