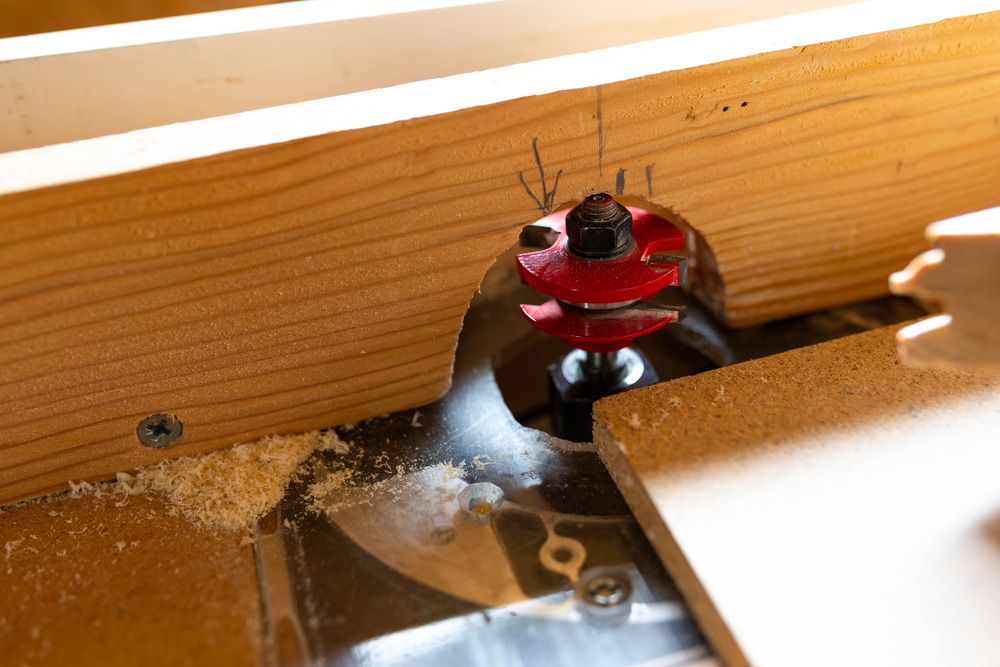
A router table is a stationary woodworking tool that holds a router vertically, allowing you to use it to shape and cut wood using a variety of different bits. Router tables can be used to create precise cuts, decorative edges, and other features on wood pieces.
There are several benefits to using a router table. It allows you to make precise cuts and shapes that would be difficult to achieve with a hand-held router. It also gives you more control over the router and the material you are working with, which can help you achieve better results. Additionally, using a router table can be safer than using a hand-held router, as it gives you a stable platform to work from and reduces the risk of kickback.
Contents
Setting up the router table
Choosing the right router for your table: The first step in setting up your router table is selecting the right router. It’s important to choose a router that is compatible with your table and has the power and features you need for your projects. Consider factors such as the size and weight of the router, the maximum horsepower and speed, and the type and number of bits it can accommodate.
Installing the router into the table
Once you have a router, the next step is to install it into the table. This usually involves attaching the router to a mounting plate and then mounting the plate to the table. Follow the manufacturer’s instructions for your specific router and table to ensure a proper installation.
Adjusting the router depth and fence position
The router depth and fence position are important factors that affect the accuracy and precision of your cuts. To adjust the router depth, loosen the router mounting plate and move the router up or down as needed. To adjust the fence position, loosen the fence locking handles and move the fence to the desired position. Then, tighten the handles to secure the fence in place.
Safety precautions
Wearing appropriate protective gear: It’s important to always wear appropriate protective gear when using a router table to reduce the risk of injury. This includes eye protection, ear protection, and a dust mask.
Maintaining a clean and organized workspace: A cluttered or disorganized workspace can increase the risk of accidents and injuries. Keep your router table and surrounding area clean and organized to reduce the risk of accidents.
Following the manufacturer’s instructions: Always read and follow the manufacturer’s instructions for your router table and any bits you use. This will help ensure safe and proper operation of the tool.
Basic Router Table Techniques
Cutting straight edges
To cut straight edges using a router table, start by clamping a straight edge guide to the workpiece. Then, align the workpiece with the fence and turn on the router. Guide the workpiece through the router bit, keeping it pressed against the fence and straight edge guide as you go.
Making angled cuts
To make angled cuts with a router table, you will need a sled or jig to hold the workpiece at the desired angle. You can also use a miter gauge or a fence with an adjustable angle. Align the workpiece with the fence or guide and follow the same process as for cutting straight edges.
Creating decorative edges and patterns
Router tables can be used to create a variety of decorative edges and patterns on wood pieces. This can be done using specialized router bits or by using a combination of different bits and techniques. Some examples include roundover edges, chamfered edges, and biscuit joints.
Advanced Router Table Techniques
Mortising
Mortising is the process of creating a rectangular or square hole in a piece of wood. This can be done using a router table and a special mortising bit or chisel. To mortise using a router table, set up a jig or sled to hold the workpiece at the desired angle. Then, adjust the router depth and fence position to create the desired size and shape of the mortise. Finally, guide the workpiece through the router bit or chisel to create the mortise.
Dovetailing
Dovetailing is a technique used to join two pieces of wood together using interlocking, angled cuts. This can be done using a router table and a dovetail jig. To create dovetails using a router table, set up the jig according to the manufacturer’s instructions and adjust the router depth and fence position as needed. Then, guide the workpiece through the router bit to create the dovetails.
Fluting
Fluting is the process of creating decorative grooves or channels in a piece of wood. This can be done using a router table and a fluting bit. To create flutes using a router table, adjust the router depth and fence position to create the desired size and spacing of the flutes. Then, guide the workpiece through the router bit to create the flutes.
Maintenance and troubleshooting
Cleaning and lubricating the router and table: Regular maintenance is important to keep your router table and router in good working condition. This includes cleaning the table and router to remove dust and debris, and lubricating the router and any moving parts as needed.
Common problems and solutions: Some common problems that can occur when using a router table include the router not cutting smoothly, the router or table vibrating excessively, and the router bit breaking or dulling quickly. To troubleshoot these issues, check for problems such as loose or damaged parts, improper router depth or fence position, and dull or damaged router bits.
Final Takeaway
A router table is a versatile and powerful tool that can be used to make precise cuts, decorative edges, and other features on wood pieces. By following proper setup and safety precautions, and learning and practicing different techniques, you can become proficient in using a router table to complete a wide range of woodworking projects.

